|
THE ESCHER Here
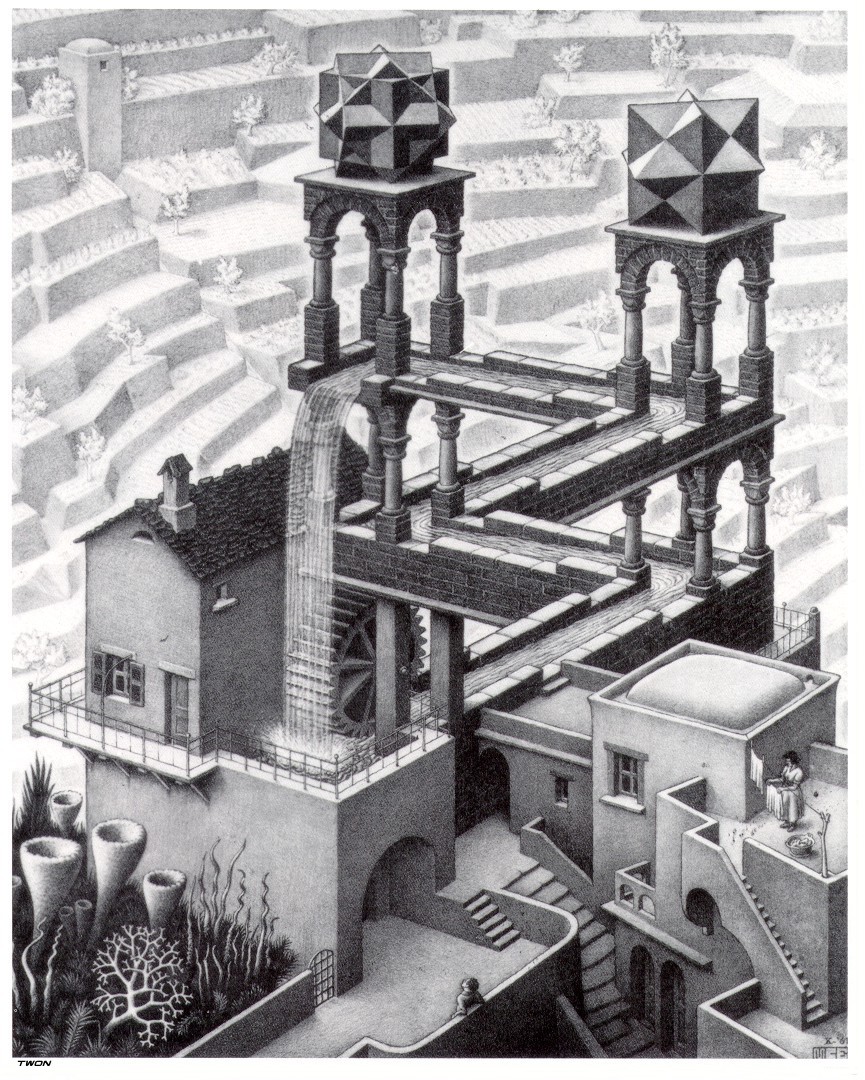
it is. After 2.5 short years. "Waterfall" by M.C.
Escher, or just "The Escher" as it has come to be known. I got the
inspiration
for this in Entomology 101 at Ohio State. Thanks, Dr. Wrensch, for
making
that class about more than just insects.
First the good stuff. The still image and the animation. I've provided several resolutions, as the higher resolutions may require more cpu power to view than your machine can provide. The
Still (374 Kb) The
animation @ 200 X 250 (13.9
Mb) The animations require the DivX mpeg4 codec to view. This codec is a plugin and will probably work with whatever viewer you're using. And it's freely available here. I've included copies of several codecs here , so you don't have to download them, if you don't want to. Just run the install programs, and your media player will automagically know how to use them (be sure to run the 'Run me first' file that the install for the divx 311 creates). If your machine is capable, I recommend viewing the last one with your graphics mode set to 1152 X 864 (24 bit color). You might try copying the animation file to your hard drive to help performance, as well. I
even got an
award for this animation! You can see
that here.
Factoids
Details You probably only want to read this if you're into raytracing and you want to know some of the tricks involved in getting this animation to work. It took me a long time just to figure out the details of how to model M.C. Escher's famous "Waterfall" lithograph as a real, 3d, thing. After figuring out where the secret vertices where, I found myself with a problem. Here is that problem: The perceived top of the tower is actually much farther away from the perceived camera position than the waterwheel and other foreground objects. This means that if you make, say, your bricks all the same size, because of perspective (the effect of things appearing to be of smaller size as they get farther from you), the bricks at the "top" of the tower will appear to be smaller than the bricks at the "bottom." But, for the initial illusion, that's exactly what we don't want. So, for the illusion to work, perspective needs to be destroyed. Interestingly, enough, this is a feature in povray. One can turn off the perspectification affect. That would work great if I was only doing a still image. However, I knew that I was building this with the intent of moving the camera around for an animation, and I wanted to keep perspective on so that things would look correct when the camera was moving around. I came to realize that there are two ways to simulate the absence of perspective. The first is to make every object in the scene larger in proportion to it's distance from the camera. Building a scene like that really has the potential to suck, and I really didn't want to do that. So, I used a third alternative. As it turns out the affect of perspective is influenced by the relative distances of the objects from the camera (or the eye). For example, let's say you're standing next to a car and there's another car 50 yards away. Hold your thumb up at arms length and look at it compared to the car your standing beside. The car looks huge. Now look at the car 50 yards away and compare it to your thumb. That car is only about twice as big as your thumb. Ok, stay with me now. Leave those 2 cars, right where they are and walk about a mile away. Now, do the same thumb experiment. Now, both cars look about as big as your knuckle, even though one car is still 50 yards closer to you than the other. So that's how you can simulate the absence of perspective. Just move the camera really far away. The only problem is that now everything is tiny. Easy enough. Put a super high power zoom lens on your camera and viola! Normal sized objects with no perspective. So that's what I did. I put the camera really far away and put a super zoom lens on. This opens up a whole new can of worms when you want to move the camera around. This is why the background sinks away at the beginning of the animation. The camera is coming in really fast while zooming out at the same time. You'll often see this affect in movies, when something horrible happens to a character, or a character has an epiphany or something dramatic like that. The background just sinks away, while the face stays the same size in the frame. It's done exactly the same way. The camera starts a ways away from the actor with high zoom in. Then the camera is rolled toward the actor quickly while the zoom angle is widened. I used some tricky geometry to get the rate of camera approach and the rate of angle widening to jive. Basically, I assume that however wide the frame is at the beginning, it should stay that wide (relative to a certain point) no matter where the camera is during approach. So the math calculates what zoom angle is required to maintain that frame width where-ever the camera happens to be at the current clock value. That way, the camera position and zoom angle are linked and I don't have to worry about matching one to the other. Another nontrivial part of the scene is the waterfall. I really think it could be a damn good waterfall with some tweaking. I'll leave that tweaking to you. Read the code carefully. There's a work around in there to circumvent what I think is a bug in the pseudo-random number generator in povray. Basically, it appears that you can only count on getting so many consistent random numbers from the generator. This is important because I want each piece of the waterfall to be in a random position but I want it in the same random position from frame to frame. There's plenty of funkyness in that waterfall to go around, so enjoy. And if you do anything with it, lemme know. I'd love to hear about it. The last interesting part of the scene is the code involved in the movement of the camera from key position to key position. I'm not completely happy with it, but it's not bad. The technique used for that part of the code was pulled from the book "Making Movies on your PC" (Pg 177-182) by David K. Mason and Alexander Enzmann (Available at the right). My code is horribly mangled and ugly, but it originally came directly from there. For the love of God, if anybody knows a better way to code smooth spline-like motion, I'd be eternally grateful. All that being said, here's what you've been waiting for, the source code, in one big fat zip file. Just
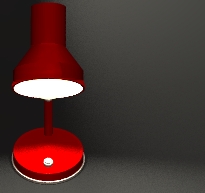
a few words about the leader. The 'glint' you see rotating around the
band is not real. I only wanted the band to be affected by the glint,
and if I moved a light around to create the glint, the rest of the
scene would have been affected (a shortcoming of povray). So the glint
is actually a chunk of a lighter colored cylinder rotated around the
band. Here's the source for
that one as well.
|


